automotive
Chevy Blazer AC Direction Control
Arduino Nano controller for 3-position HVAC airflow direction...
Arduino-based airflow controller for HVAC retrofits. Controls a servo-driven Y-splitter duct door to direct airflow between face vents, defrost, or both simultaneously via a dash-mounted switch.
Overview
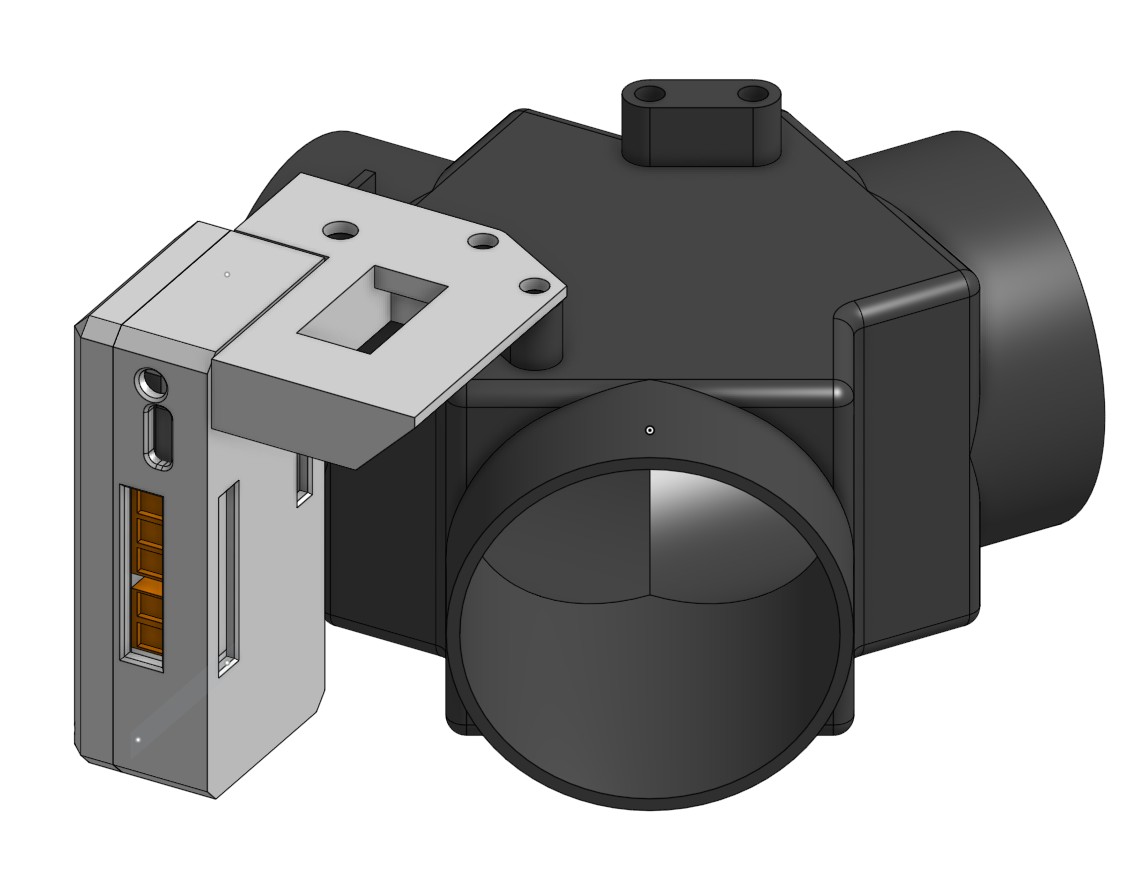
Built for a Vintage Air heater retrofit in a 1972 Chevy Blazer -- the new heater unit had no dedicated defrost output. A custom 3D printed Y-splitter duct with an internal servo-driven door solves this, giving three selectable airflow modes via a dash-mounted ON-OFF-ON toggle switch:
- Face vents -- all air directed to cabin vents
- Defrost -- all air directed to windshield defrost
- Both -- air split between vents and defrost
Hardware
| Component | Details | Link |
|---|---|---|
| Microcontroller | Seeed Studio XIAO SAMD21 | Amazon |
| Actuator | Sub-micro servo | Amazon |
| Power | 12V to 5V buck converter | Amazon |
| Duct | Y-splitter vent (3" inlet, 2x 2" outlets) | eBay |
| Input | ON-OFF-ON SPDT center-off toggle switch | Any |
| Mounting | Custom 3D printed bracket | See 3d-models/ |
Schematic
See schematics/hvac-3position-controller-schematic.svg for the full wiring diagram.
Note: consider adding a 100uF electrolytic capacitor across the buck converter input for noise filtering, and a 100uF electrolytic + 100nF ceramic in parallel across the 5V output, especially in a vehicle environment.
Wiring
| Connection | Details |
|---|---|
| 12V fuse box to buck converter in | Vehicle power |
| Buck converter 5V out to Arduino VIN | Board power |
| Switch wire L to Pin 4 | INPUT_PULLUP |
| Switch wire H to Pin 6 | INPUT_PULLUP |
| Servo signal to Pin 7 | PWM output |
Switch Logic
| Switch L | Switch H | Mode | Servo Angle |
|---|---|---|---|
| HIGH | HIGH | Face vents | 0 degrees |
| LOW | HIGH | Face + Defrost | 50 degrees |
| HIGH | LOW | Defrost only | 90 degrees |
3D Models
The 3d-models/ folder contains the OBJ file for the Y-splitter duct assembly -- air inlet from the Vintage Air unit, two outlets (vents and defrost), and the internal door controlled by the servo.
Flashing
- Open
src/hvac-3position-controller.inoin Arduino IDE - Select Seeed XIAO SAMD21 as the board
- Select your COM port
- Upload
License
CC BY-NC 4.0 -- free to use and modify for non-commercial purposes with attribution.
Copyright (c) 2025 Paul Thillier